Description
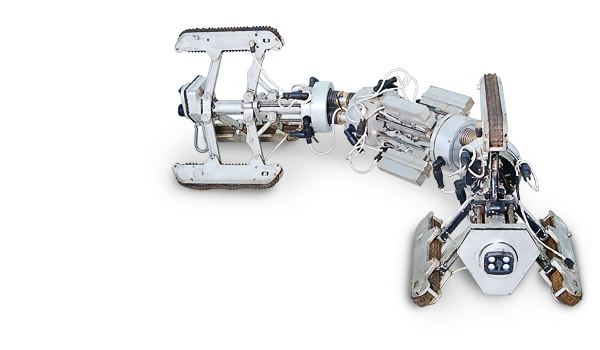
The robot is loaded into the pipe through a cut with minimal dimensions 400 mm X 600 mm. The robot requires no loading chambers welded into the pipe. No pressurized water in the pipe is required to move the robot and perform the inspection. The HeatScan diagnostic system uses a modified magnetic test method to search for defects. In contrast to the ultrasonic test method, this method has no sensitivity to pipe surface irregularities caused by corrosion. The robot measures the residual thickness of metal pipe walls in the places unavailable for other test methods due to the deposits and severe corrosion.
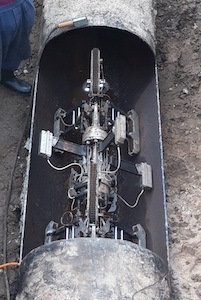

The robot has a sealed case that allows working after immersion in water. Water can have temperature 50 °C. Testing performance up to 200 meters per hour.
Technical specifications of the HeatScan internal pipe inspection system:
| Range of tested diameters | DN400-DN1400 |
| Range of pipe wall thicknesses | 1.5-16 mm |
| Thrust distance | 300 m |
| Amount of deposits on the internal pipe surface | Up to 35 mm |
| Sizes of detected/measured defects | – Penetration defect, diameter 6 mm – corrosion damage, diameter 30 mm and depth 20% of the wall thickness |
| Performance | 120 – 200 m/h |
| Number of passable bends | 4 pcs |
| Tee passing | yes |
| Measurement error with remaining thickness in the defect zone | 15% of the remaining thickness |
| Relative Humidity | 100% |
| Range of operating temperature | -20º…+70ºС |
| Pressure | 101.3 kPa |
Using the device:
Test technology
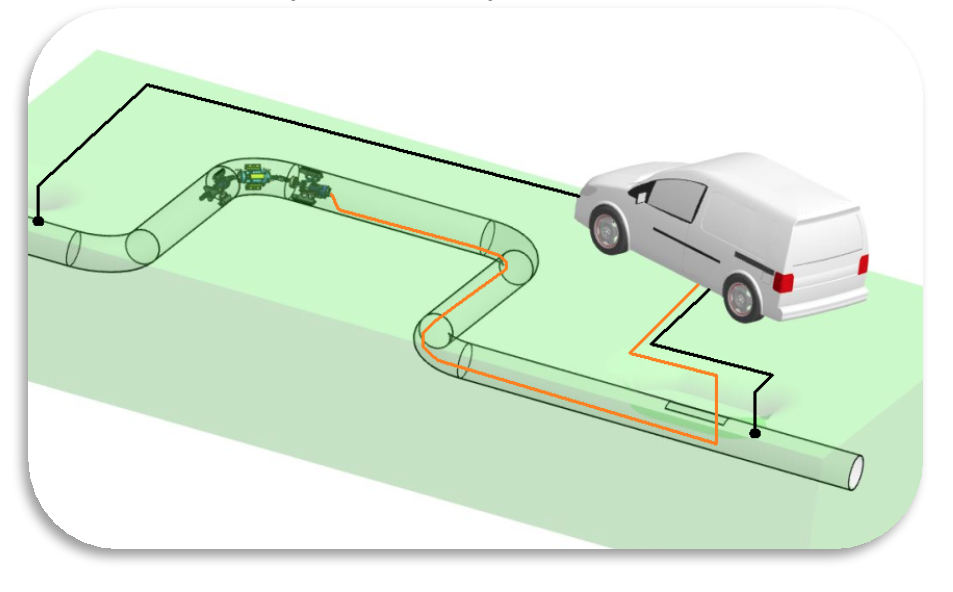
Inspection requires access to the pipe: the robot is loaded through a cut in the pipe. The cut can be made in a heat chamber or via a pit.
The diagnostic system, including the control panel, is located in the auto laboratory based on a category B vehicle.
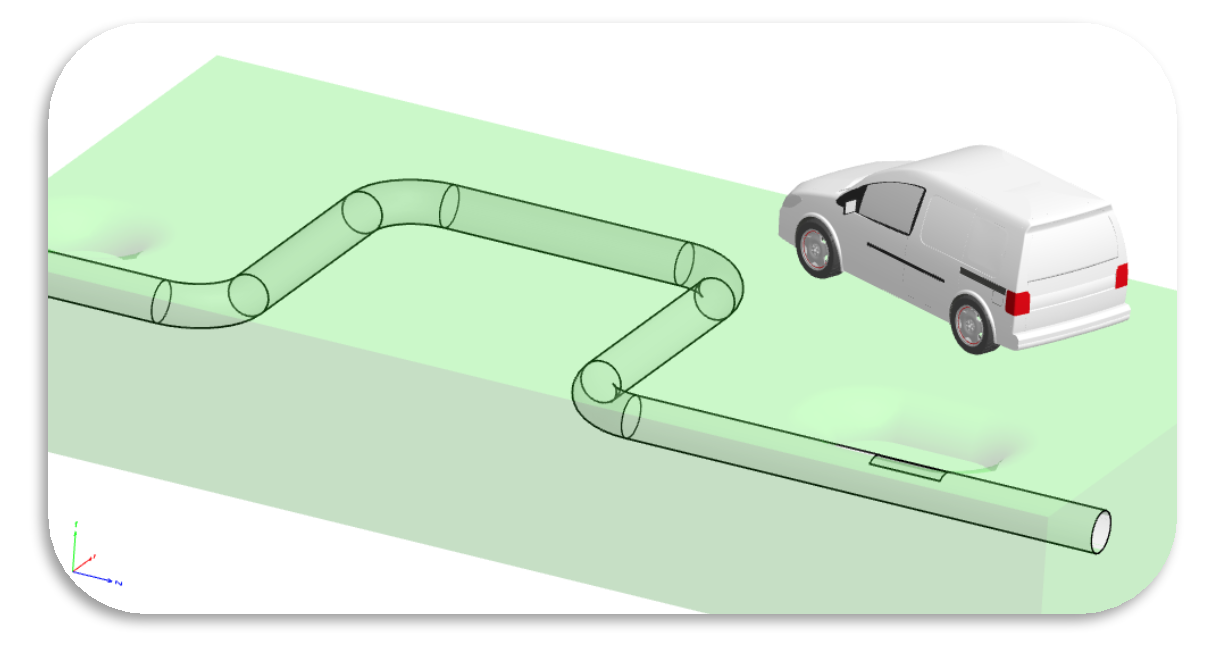
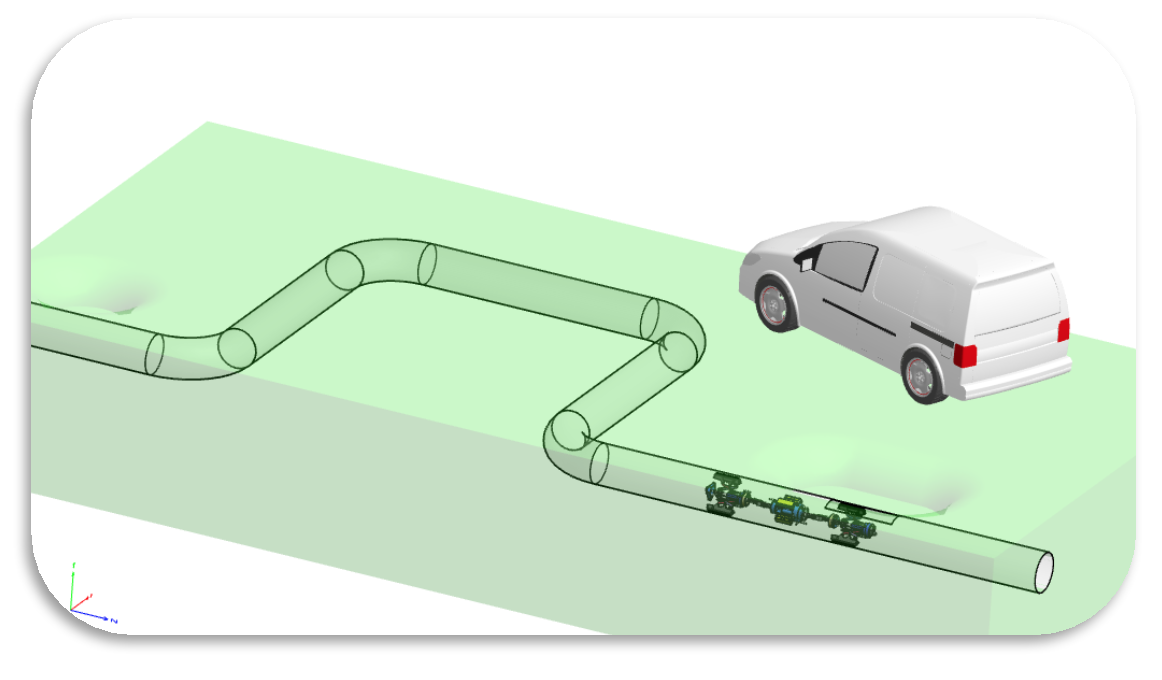
The robot can use one loading point to diagnose up to 500 meters in every direction starting from the cut.
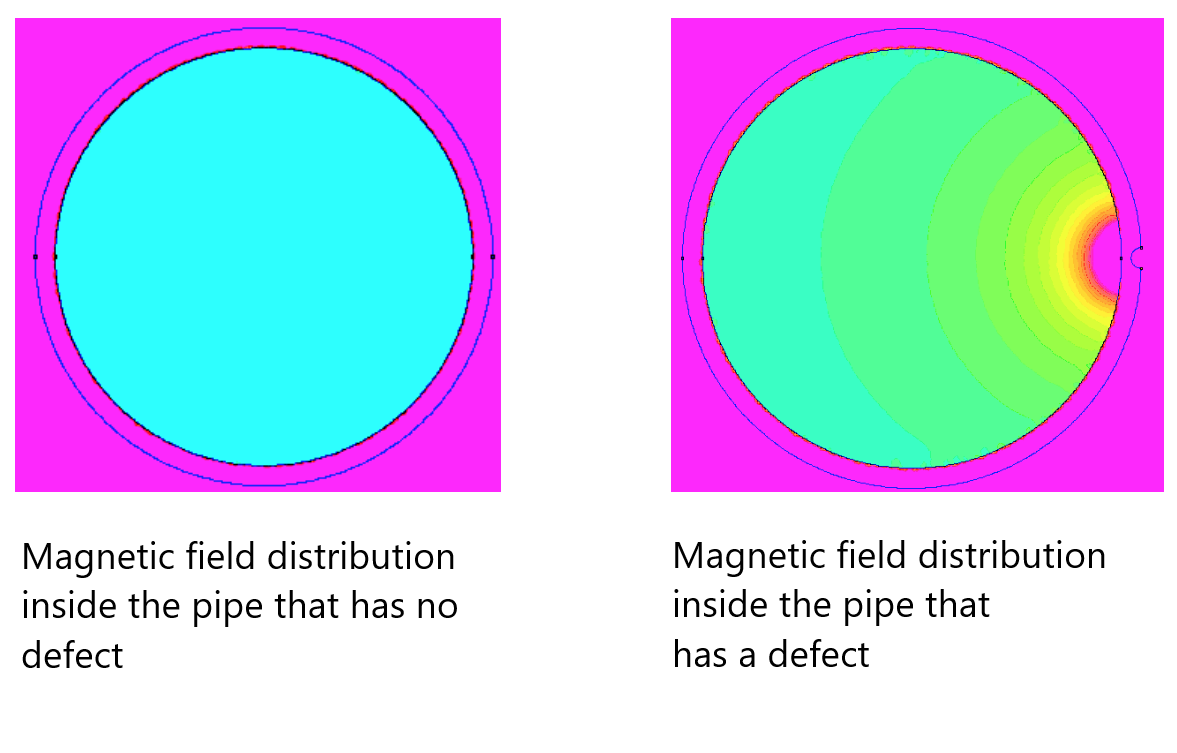
Electrical wires must be connected to the ends of the tested pipe section. Electrical current is transmitted through the pipe; this is necessary to excite magnetic fields with distribution read by the sensors of robot located inside the pipe.
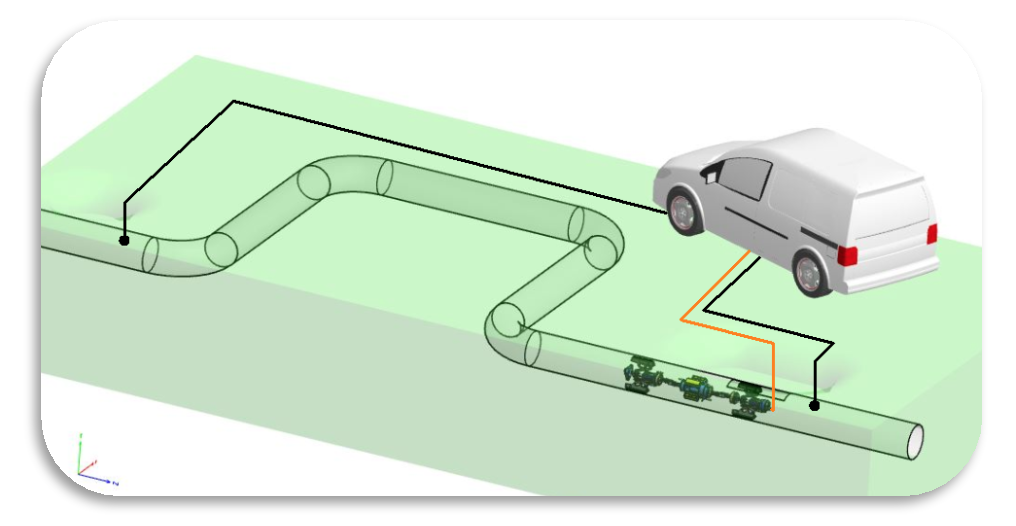
The diagnostic robot moves inside the pipe scanning 100% of the pipe area. The sensors detect magnetic field anomalies in defect areas. Using a special algorithm, the program determines the residual metal thickness.
